How to digitize handwritten recipes: four ways compared
Handwritten recipes fade, stain and get lost. Here are the four ways to get them onto a screen, what each one costs in time, and how to photograph a page so it can still be read in 30 years.
Before you start: what “digitized” should mean
A photo on your phone is a start, but it is not a recipe you can search, scale or share. A good result has three things:
- The text as text: title, ingredients with quantities and steps, so you can search for “rhubarb” and find the cake.
- The original page: the handwriting is part of the recipe, and the only way to check a quantity later.
- A safe place: not one phone, but storage with a backup that you can export from.
The four ways compared
| Method | Time per recipe | Searchable | Original kept |
|---|---|---|---|
| Photos or scans only | under a minute | no | yes |
| Typing it up | 10-20 minutes | yes | only if you also photograph it |
| Text recognition (OCR) app | 5-10 minutes with corrections | yes | usually not |
| AI recipe app like Kladde | 1-2 minutes to check | yes | yes |
1. Photos or scans only
Quick and better than nothing: the page is safe from coffee and moves. But you can’t search a photo, you can’t scale it, and on a phone screen a whole page is hard to cook from. Good as a first emergency step for a large collection.
2. Typing it up
The traditional way: a document or a recipe app, one recipe at a time. The result is clean, but at 10 to 20 minutes per recipe a box of 150 cards is 25 to 50 hours of work. Most projects stop after the first evening. Typing also loses the handwriting unless you photograph the page as well.
3. Text recognition (OCR) apps
General scanner apps turn printed text into text very well. Handwriting is harder, especially old cursive, faded ink and notes squeezed into the margin. And OCR gives you a block of text, not a recipe: you still have to sort out which line is an ingredient and which number belongs to it.
4. An AI recipe app
Newer apps read handwriting with large AI models and understand that a recipe has ingredients, quantities and steps. That is what Kladde does: you photograph the page, Kladde lays out the recipe and keeps the photo attached. The important difference between apps is what happens when the handwriting is unclear. Kladde never invents a quantity: an unclear “500 g or 300 g?” is marked for you to decide. Plan a minute or two per recipe to check it.
How to photograph a recipe page
- Daylight, no flash. Near a window, without your own shadow on the page. A flash makes shiny paper and pencil unreadable.
- Flat and straight. Hold the phone parallel to the page. Press a notebook flat with one hand or a glass plate.
- One page per photo. Fill the frame with the page; crop and straighten in the app if needed.
- Back and front. Many cards continue on the back: photograph both and keep them as one recipe.
- Notes count. Don’t crop the margins. “Less sugar!” in grandma’s writing is part of the recipe.
Keep the originals too
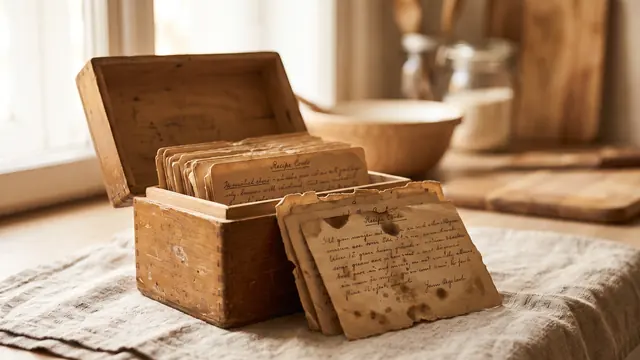
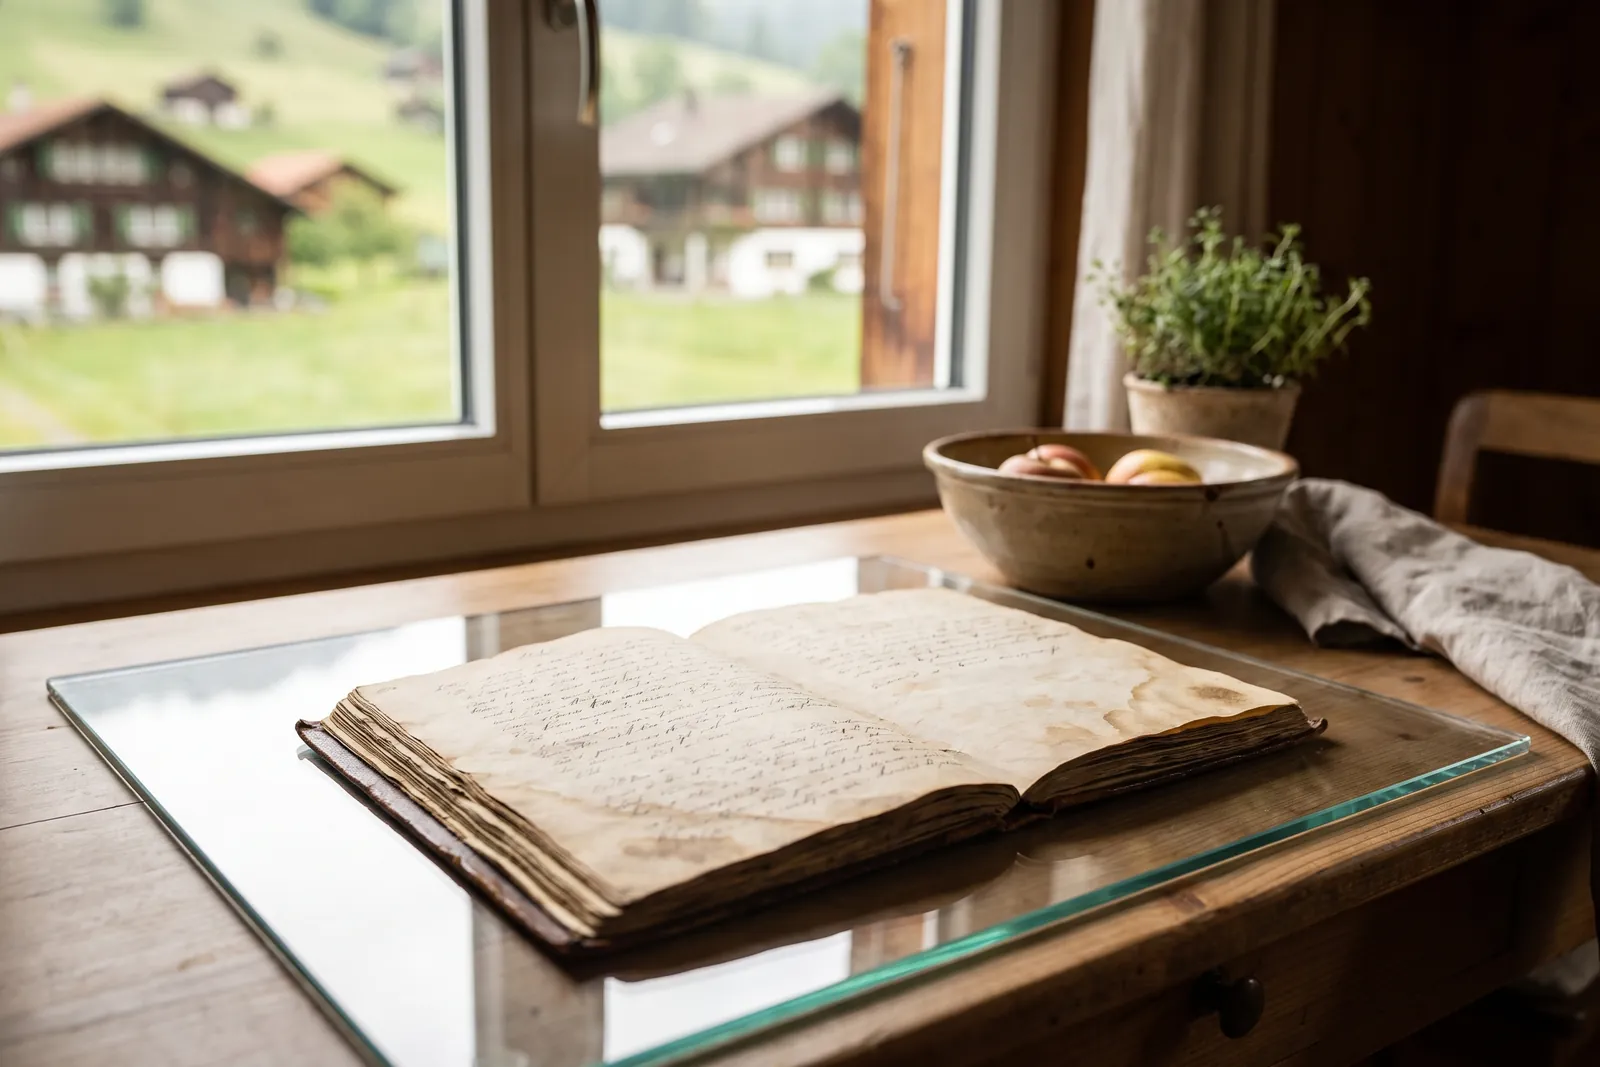
Digitizing doesn’t mean throwing anything away. Store the cards dry and dark, ideally in acid-free sleeves or a box, away from the kitchen’s steam. The digital copy is the one you cook from; the paper is the heirloom.
Start with ten
Don’t start with the whole box. Pick the ten recipes the family cooks most, digitize them in one evening, and share them. That is usually what gets everyone else to send their own. When the collection grows, you can turn it into a book: how to make a family cookbook.