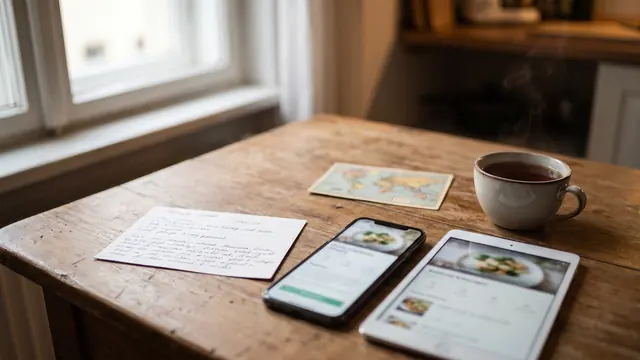
How to preserve old recipe cards before they fade
Yellowed paper, faded pencil, butter stains: old recipe cards don’t last forever. Here is how to save what’s on them and keep the cards themselves for decades.
Why old recipe cards are in danger
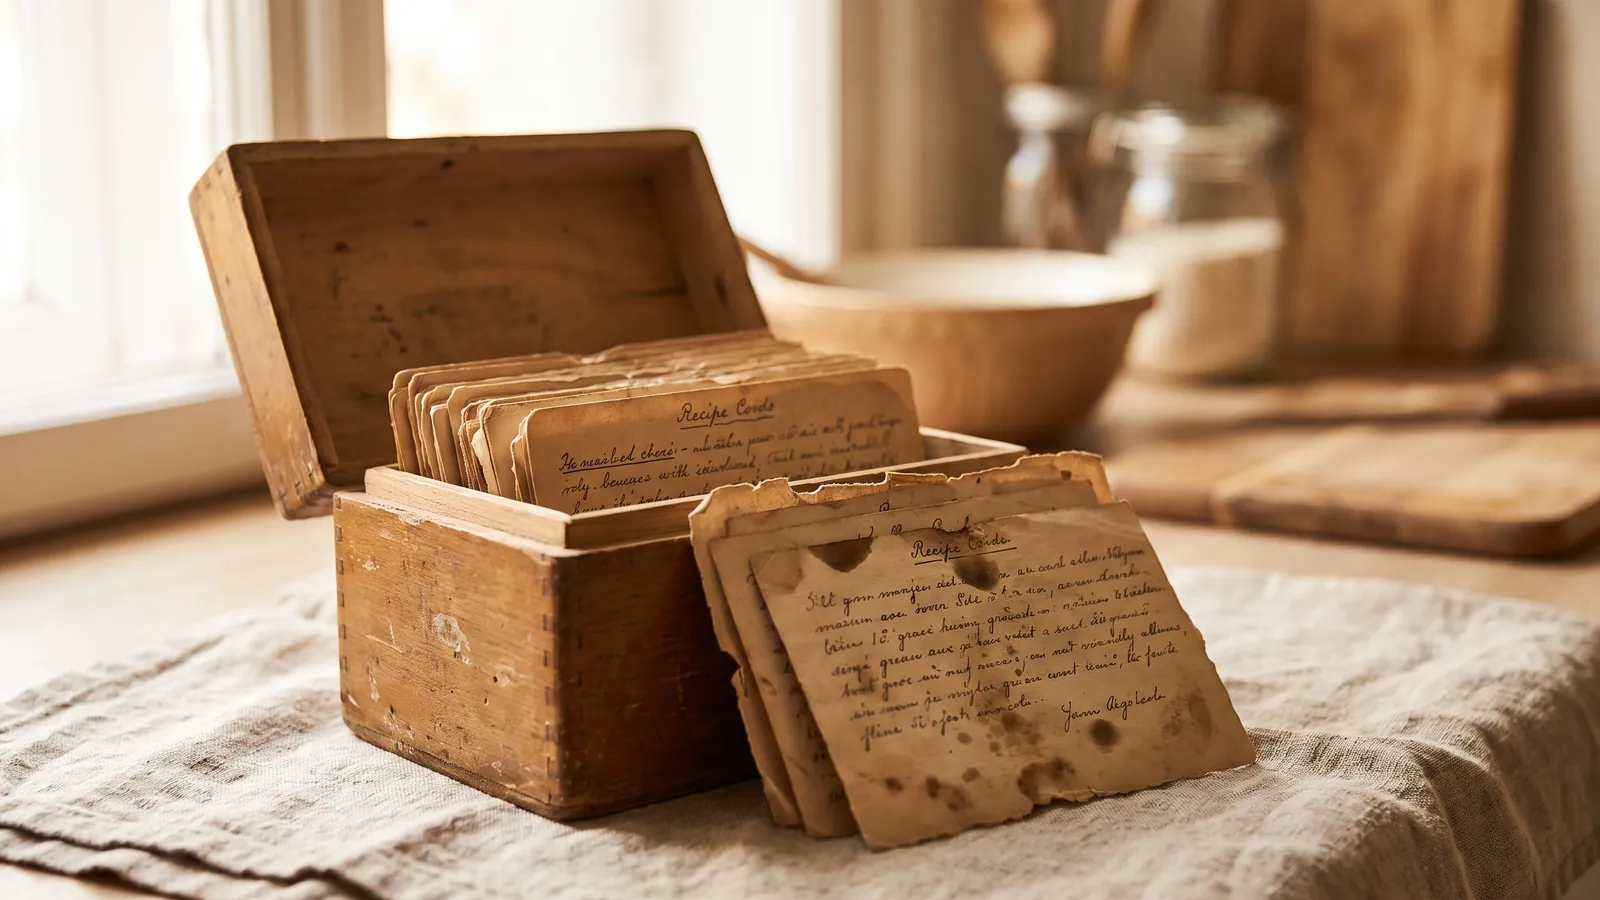
Paper doesn’t last forever, and recipe cards have a hard life. They live next to the stove, get splashed with butter and are held with floury fingers. Cheap paper from the 1950s to the 1980s yellows and turns brittle because of the acid in it. Ballpoint ink and pencil fade in light. And most collections exist only once: one box, in one cupboard, in one house.
Step 1: sort before you save
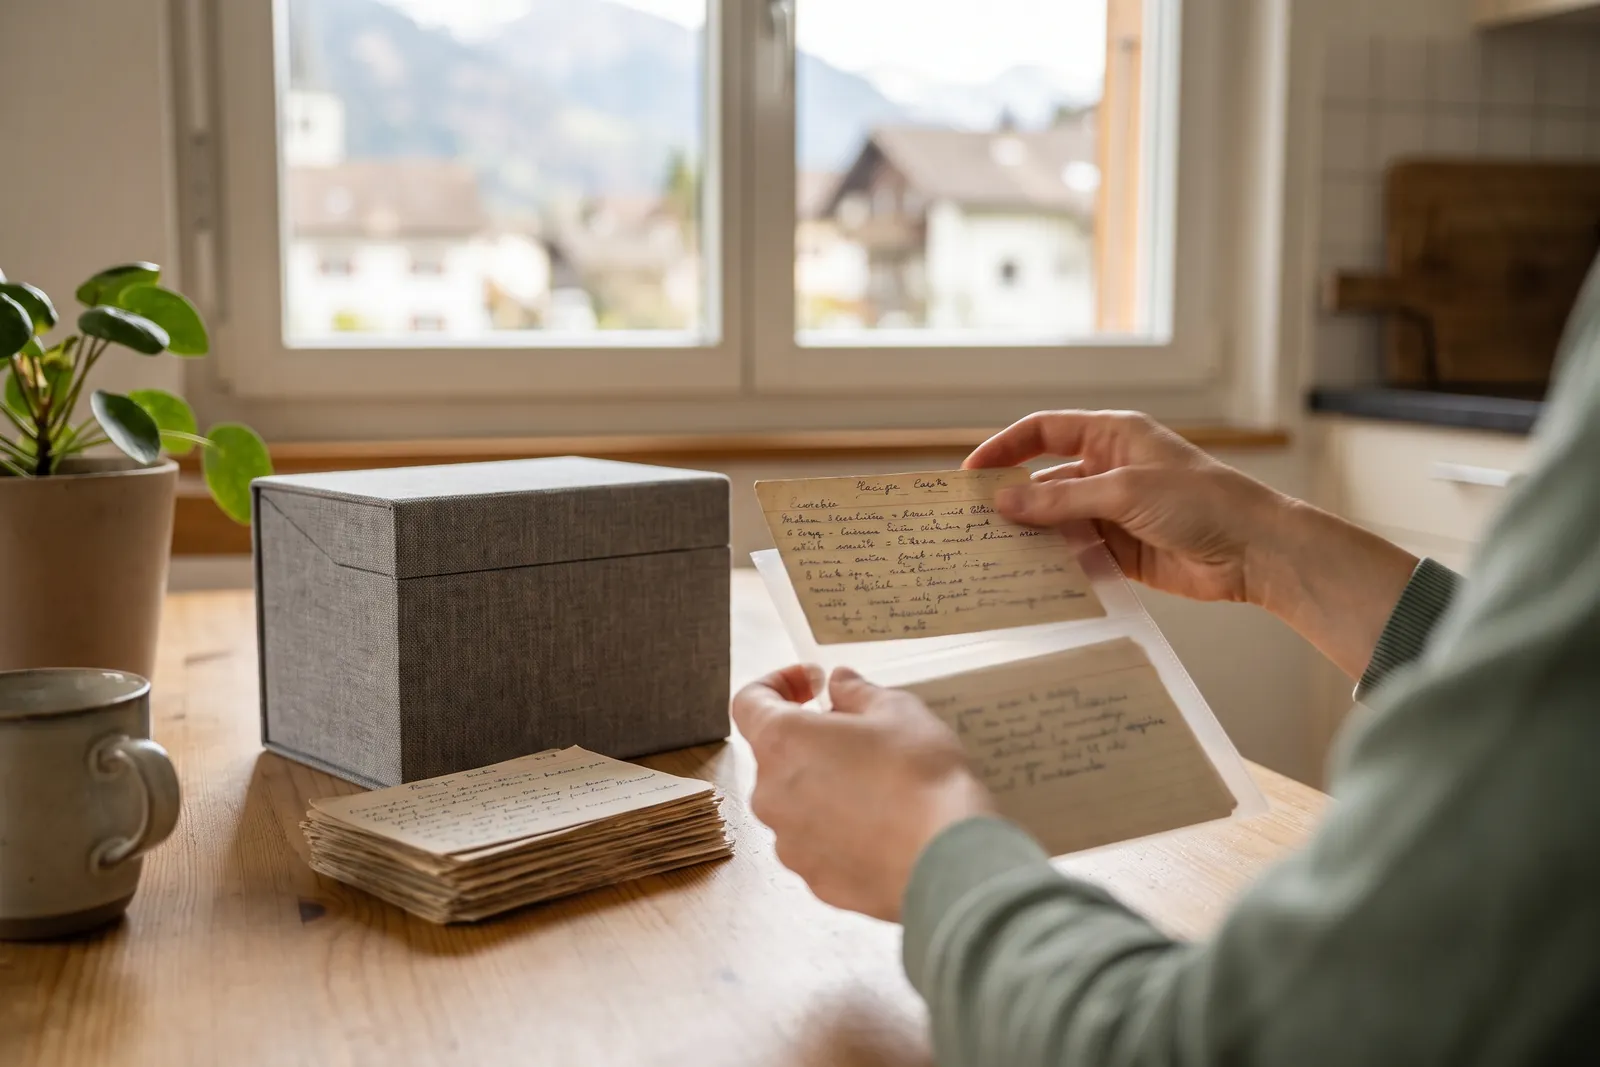
Go through the box once before you change anything. Put cards that are torn, brittle or very faded on one side: they get photographed first and touched as little as possible. Keep cards that belong together together, even if they look messy. A note on the back, a crossed-out amount or “double for Christmas” in the margin is part of the recipe.
Step 2: photograph everything
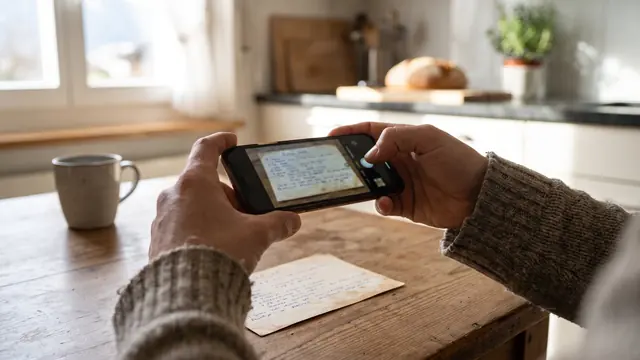
A photo is the cheapest insurance there is. It takes seconds per card and protects the recipe even if the paper is lost. A few rules make the difference between a photo and a readable copy:
- Daylight from the side, no flash. A flash reflects on glossy paper and washes out pencil.
- Phone parallel to the card. Press curled cards flat under a clean sheet of glass.
- Front and back. Many recipes continue on the back, and the back often holds the date or the name of whoever wrote it.
- Faded writing: try light from a low angle across the paper. Faint pencil marks cast tiny shadows and become readable again.
With Kladde the photo becomes a recipe you can search and cook from, and the photo stays attached to it. Where the handwriting is unclear, Kladde marks the spot instead of guessing, and you decide. Our guide how to digitize handwritten recipes compares the methods.
Step 3: store the originals properly
Once the recipes are safe as photos, the cards can go back into the cupboard. A little care keeps them for another few decades:
- Acid-free materials: sleeves made of polypropylene or polyester and a box made of acid-free cardboard. Avoid soft PVC sleeves, which give off substances that damage paper.
- No tape, no glue, no laminating. Tape yellows and leaves stains; laminating can’t be undone.
- Dark, dry and cool: not in the kitchen, not in the cellar and not in the attic. A cupboard in a living room is better than all three.
- Remove paper clips and rubber bands. Metal rusts and rubber sticks to paper over the years.
Step 4: ask while you can
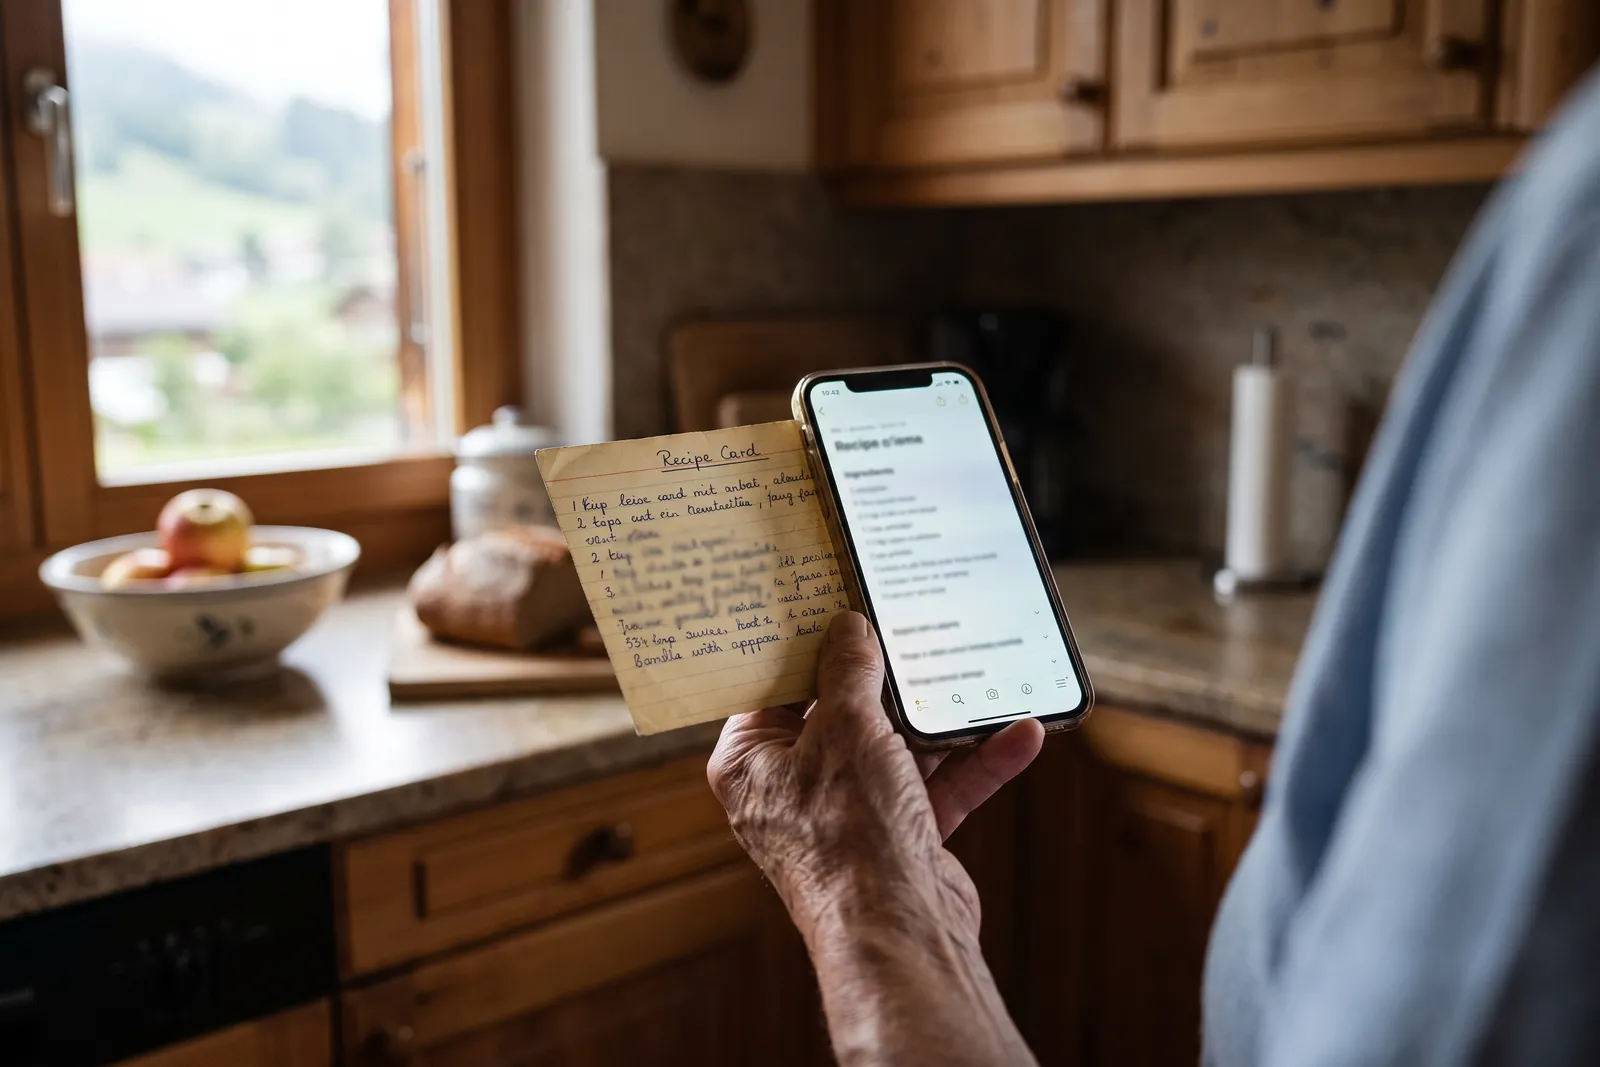
The most valuable information about an old recipe is often not on the card. Which flour did she use? What does “a cup” mean in this kitchen? Who brought the recipe into the family? If the person who wrote the card is still alive, ask them now and write the answers down, in Kladde right in the recipe’s notes. Ten minutes of questions save years of guessing.
Step 5: share copies, not the box
When an old recipe collection is digital, everyone can have it and nobody has to fight over the box. Share single recipes as a link, invite the family into the same collection, or make a printed book from them: our guide how to make a family cookbook shows how.